A useful summer road trip inspection focuses on tires, brakes, cooling, fluids, battery condition, lights, wipers, and warning signs early enough to fix problems before the departure date. The point is not to make the job sound more complicated; it is to make the decision traceable before money changes hands.
TL;DR: Key Takeaways
- Best fit for readers: Intermediate drivers comparing repair advice in the preventive maintenance, seasonal care & service schedules category.
- Ask what was inspected, what was measured, and what would happen if the work is delayed.
- Treat service recommendations as best-practice guidance unless the shop can connect them to a manufacturer limit, safety defect, code, or failed test.
Begin With the Systems That Stop, Steer, and Cool
A summer road trip inspection should focus first on systems that stop, steer, cool, charge, and keep visibility clear. Heat, high speed, heavy luggage, long grades, and stop-and-go vacation traffic can expose weak tires, marginal cooling systems, old batteries, worn brakes, and fluid leaks. The goal is not to create a huge repair list; it is to find the problems that could interrupt the trip or create a safety risk.
The Road Trip Inspection List
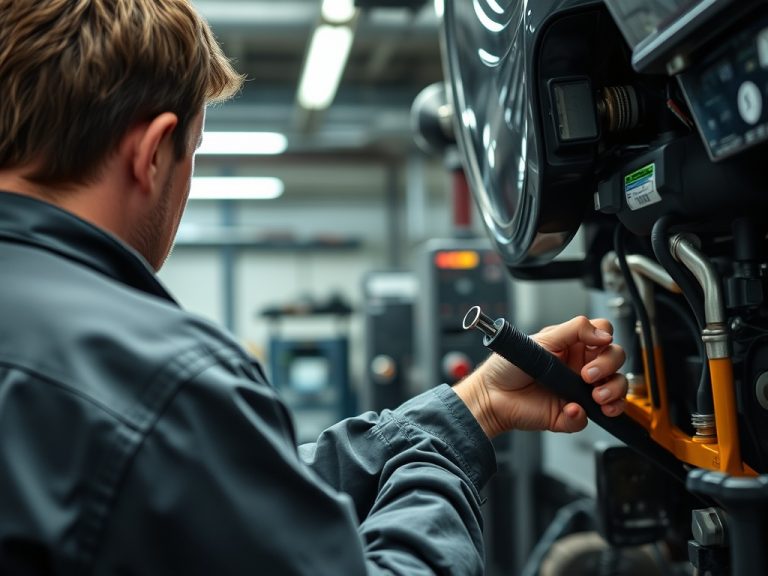
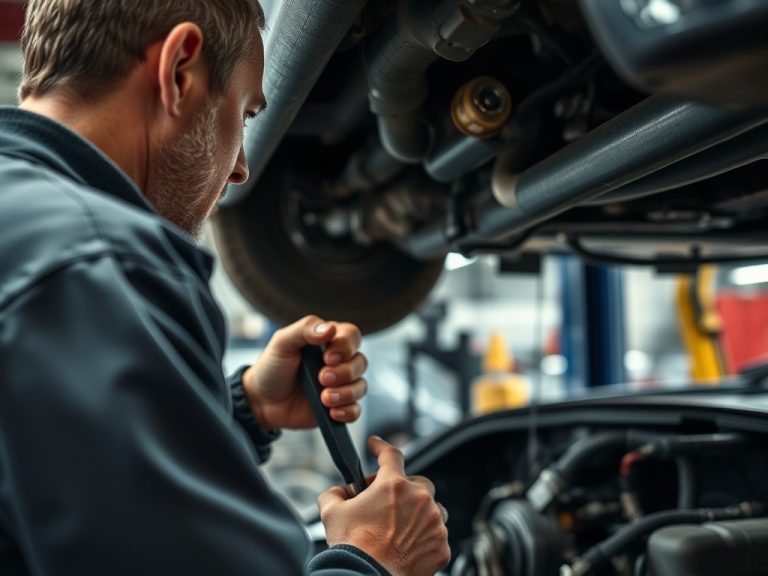
Start with tires. Check tread depth, age, visible damage, pressure when cold, valve stems, and the spare or inflator kit. NHTSA's TireWise resource explains tire maintenance, labeling, aging, recalls, and buying guidance for drivers: NHTSA tire safety guidance. Then look at brakes, lights, wipers, washer fluid, coolant level, engine oil, transmission fluid if serviceable, belts, hoses, battery terminals, and warning lights. If the vehicle wanders or reacts strangely over bumps, review {L['bump']} before assuming an alignment alone will solve it.
| Timing | What to inspect | Why it should not wait |
|---|---|---|
| Two weeks before | Tires, brakes, cooling system, battery, lights, wipers, leaks, warning lights | Leaves time for parts, appointments, and rechecks. |
| Three days before | Fluid levels, tire pressure, spare/inflator, emergency kit, documents | Catches small issues after repairs or packing. |
| Departure morning | Visible leaks, warning lights, tire pressure when cold, load distribution | Confirms the vehicle is ready under actual trip load. |
What to Check Two Weeks Before Departure
Do the main inspection about two weeks before leaving. That timing gives you room to order parts, schedule work, drive the vehicle after repairs, and return if something still feels wrong. If you wait until the day before departure, even a simple issue can become expensive or stressful. Check for recalls through NHTSA's recall lookup because some safety campaigns may affect travel decisions or require dealership scheduling.

Mistakes That Make Pre-Trip Checks Less Useful
Common mistakes include checking tire pressure after the tires are hot, ignoring the spare, topping off coolant without finding the leak, leaving old wiper blades for a stormy route, and assuming no warning light means no issue. Another mistake is packing the vehicle heavily and never rechecking pressure or load distribution. If towing, carrying cargo boxes, or driving through mountains, treat the inspection as trip-specific rather than routine.
Leave With a Vehicle You Understand
Leave with a vehicle you understand. Keep a copy of recent repair notes, know what was deferred, and ask the shop what to monitor during the trip. If a transmission service was recommended, compare the reasoning with {L['flush']} before authorizing last-minute work. If you manage commercial vehicles, the same habit connects to {L['fleet']}: inspections are most useful when observations become timely decisions.
Making the Checklist Fit the Actual Trip
A summer road trip inspection works best when the driver turns a vague concern into a specific service question. Instead of asking for the cheapest option, ask what was observed, what was measured, and what risk changes if the work waits. That framing keeps the conversation practical. It also makes room for normal professional judgment without letting opinion replace evidence. A shop may prefer a certain method or parts line, but the driver should still understand why that choice fits the vehicle, the symptom, and the expected result.
Red flags are not always dramatic. A missing measurement, a recommendation that changes when you ask one question, a refusal to explain parts quality, or an estimate that hides labor and supplies can all signal that the decision needs more clarity. The right response is not automatically to reject the shop. It is to slow the process down, ask for the missing detail, and decide whether the answer feels consistent with the vehicle condition and the written estimate.
After the work or inspection, keep a simple record. Save the estimate, the invoice, photos, test results, and any notes about what improved. Then monitor the original symptom under the same conditions. If the problem returns, those details help the next conversation start from evidence rather than memory. This is especially useful when more than one system could be involved or when several maintenance items were performed close together.
Why Heat, Load, and Distance Change Priorities
A car that seems fine on short errands may struggle on a long hot drive with passengers, luggage, hills, and sustained highway speed. Cooling systems, tires, brakes, and batteries are under more stress during those conditions. That is why a useful pre-trip inspection is not only a general maintenance check; it is a review of how the vehicle will be used.
Share the route and load with the shop if the trip is demanding. Towing, mountain roads, desert heat, remote areas, or nighttime driving may change which items deserve priority.
What to Recheck After Packing the Vehicle
One more useful habit is to separate immediate safety decisions from longer-term ownership decisions. Immediate decisions answer whether the vehicle should be driven today, repaired before the next trip, or parked until inspected. Longer-term decisions answer whether the repair fits the vehicle's age, value, usage, and future plans. This separation prevents one estimate from feeling like an all-or-nothing judgment. A driver may approve a safety repair now, monitor a comfort issue, and schedule preventive work later when timing and budget make more sense.
When comparing shops, do not compare the final total alone. Compare the explanation, inspection depth, part quality, warranty language, diagnostic method, and willingness to document findings. Two estimates can look different because one includes hardware, testing, programming, fluid, cleanup, or verification that the other omitted. A cheaper estimate is helpful only if it solves the same problem to the same standard. A more expensive estimate is reasonable only when the added value is clear enough for the driver to understand.
Finally, keep the language precise when you talk with the shop. Say what you felt, heard, smelled, saw, or measured, and avoid naming a part unless it has already been tested. Clear symptom language helps the advisor write a better repair order and helps the technician reproduce the concern. It also protects you from approving a repair based on a guess you accidentally introduced into the conversation.
Practical Wrap-Up for Summer Road Trip Inspection Checklist
Schedule the inspection early, keep the repair notes, and recheck tire pressure and fluids the day before you leave.