Good camera placement is less about mounting the most devices and more about covering useful approach paths without creating blind spots, glare, privacy problems, or insecure network access. The most common mistakes happen when homeowners optimize for a convenient mounting point instead of the view, lighting, power, connectivity, and privacy conditions the camera actually needs.
TL;DR
• Prioritize entrances and approach paths, but test the real field of view before permanent mounting.
• Avoid backlighting, excessive height, moving foliage, and views that intrude unnecessarily into private spaces.
• Secure the camera account and home network with updates, strong unique passwords, encryption, and multi-factor authentication when available.
Mistake 1: Mounting Too High for Useful Detail
A camera placed very high may show that someone entered the property while providing little usable facial or package detail. Height can also exaggerate the top-down angle and reduce the portion of the frame that matters. Before drilling, hold the camera at the intended position or use temporary mounting tape or a helper to compare several heights while viewing the live feed.
The best position is context-dependent. A broad overview camera can be higher, while a camera intended to capture a face at an entry generally benefits from a more direct angle. Keep the unit outside easy reach where practical, but do not assume that maximum height equals maximum security. The goal is to capture the area you intend to monitor at a scale that remains useful.
Mistake 2: Ignoring Backlight, Reflections, and Night Conditions
A doorway that looks fine at noon may become a silhouette at sunset. Glass storm doors, glossy siding, porch lights, headlights, infrared reflection, spider webs, and wet surfaces can all change the image after dark. Test the view in daylight, dusk, and nighttime conditions before considering the placement finished.
Avoid aiming a camera through ordinary window glass if its infrared lighting creates reflections. Reposition bright fixtures that flare directly into the lens, or adjust the camera angle so the brightest source is not dominating the frame.
Storm Season Prep for Yards, Roofs, and Gutters is useful for reviewing exterior hazards around the same approaches you may be monitoring, especially before high-wind weather.
Mistake 3: Letting Landscaping Create a Moving Blind Spot
Shrubs, hanging baskets, flags, wind chimes, vines, and tree leaves can block a lens or produce frequent motion alerts. A clear winter view may disappear once foliage fills in. Stand where the camera will be mounted and imagine the mature size of nearby plants, not only their current shape.
Prune modestly when appropriate and reposition the camera if vegetation will repeatedly cross the frame. Do not remove valuable shade or screening merely to preserve a camera angle if a slightly different mount would solve the problem. The camera should fit the property rather than forcing the landscape to fit the camera.
Mistake 4: Covering the Door but Missing the Approach
Pointing directly at a door can miss the walkway, driveway, side gate, stair, or package drop area that explains how someone arrived. Think in layers: one view can establish the approach, while another may capture closer activity at an entry. In a small property, a carefully chosen wide field of view may cover both without additional hardware.
Walk the normal route from street or driveway to the entry and identify where a person first becomes visible, where they pause, and where the path branches. Test for objects that hide those points. This practical route test usually reveals more than choosing a mount solely because it is close to an outlet.
Mistake 5: Treating Wi-Fi and Account Security as Separate From Placement
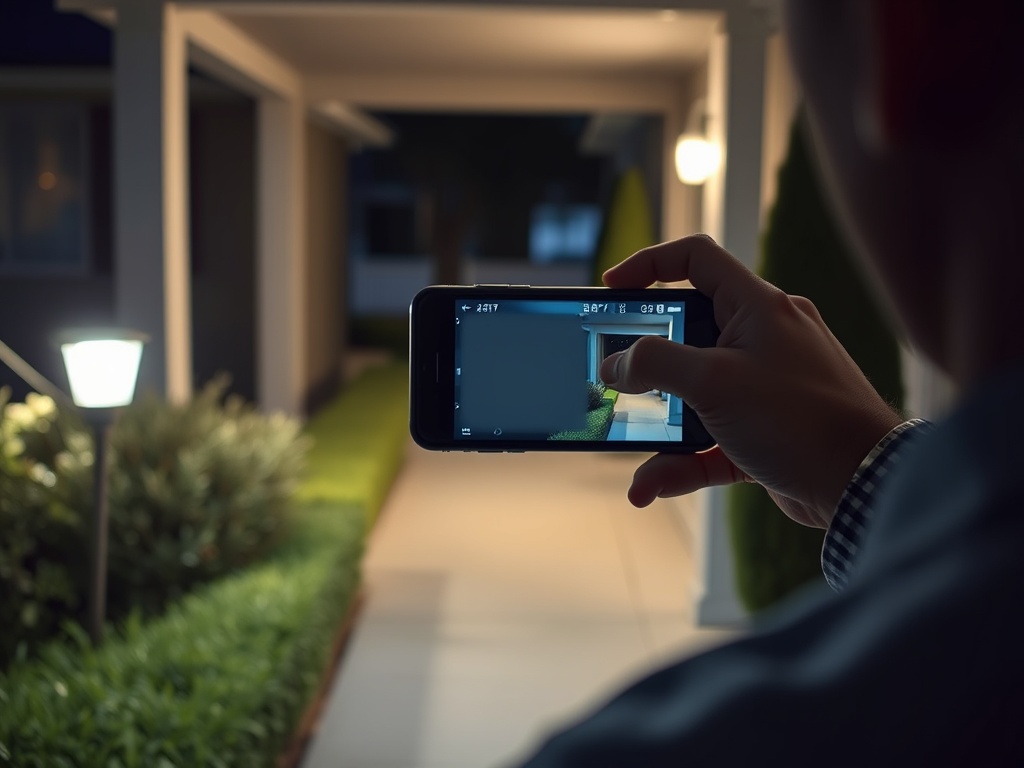
A perfectly aimed internet-connected camera is still a poor security choice if it has weak account protection or an unreliable connection. The U.S. Federal Trade Commission recommends securing the home network, keeping camera software updated, using strong unique passwords, enabling encryption, and turning on two-factor authentication when it is available. Those are baseline digital-security practices rather than optional extras.
Before final mounting, verify Wi-Fi stability where the camera will live. Exterior walls, masonry, metal doors, and distance from the router can weaken the signal. A marginal connection may lead to missed clips, delayed alerts, or lower-quality streams. If the signal is weak, improve the network design rather than assuming the camera will become reliable once it is permanently installed.
The FTC also recommends reviewing privacy and sharing settings. Give only the permissions people need, remove old users, and disable remote-access features you do not use. If the camera stores footage in the cloud, protect that account with the same care you would give other sensitive online accounts.
Mistake 6: Recording More Private Space Than the Security Goal Requires
Wider coverage is not automatically better. Avoid unnecessary views into bedrooms, bathrooms, neighbors' windows, private yards, or areas where people reasonably expect privacy. Laws on audio recording, surveillance, notice, and shared-property monitoring vary, so local requirements matter, especially in multifamily properties or shared entrances.
Use privacy zones or masking features if your system provides them. A narrower field of view can still cover the relevant door, path, or driveway while reducing incidental recording.
Small Bathroom Solutions That Add Daily Function is a useful privacy reminder for compact homes: functional planning in intimate rooms should never depend on surveillance coverage.
Mistake 7: Installing Once and Never Rechecking the View
Seasonal sun angles, new landscaping, moved furniture, spider webs, dirt, snow, renovation work, and firmware changes can all affect performance. Review each camera periodically by walking through the covered area and checking the saved footage rather than only looking at a live thumbnail.
Clean lenses with materials recommended by the manufacturer, confirm timestamps and alert zones, verify that recordings are actually being stored, and remove obsolete user access. A short quarterly review is usually more useful than adding more cameras to a system that has not been tested.
Mistake 8: Ignoring the Mounting Surface and Service Access
A useful view still needs a stable mounting point and a practical maintenance path. Before drilling, confirm that the surface and fasteners are suitable for the device and follow the manufacturer’s weather-sealing and cable-routing instructions. Avoid creating a cable path that is easily snagged, pinched by a door, or exposed to standing water. Battery-powered cameras also need safe access for charging or replacement. If routine maintenance requires an awkward ladder position every time, reconsider the mount before treating the installation as finished.
Turn Every Camera Into a Purpose-Built View
Before mounting, write one sentence describing what each camera must show, such as “capture the front walkway and person at the door” or “show the side gate without recording the neighbor's patio.” That simple purpose statement makes it easier to judge height, angle, lighting, privacy, power, and network reliability.
Test before drilling, secure the digital side of the system, and recheck the view as the property changes. Better placement comes from clearer goals, not from adding devices wherever a mounting surface is available.
Practical next step: Audit each camera by purpose, field of view, lighting, privacy, and account security, then correct weak placements before buying additional equipment.
Informational and educational only. Surveillance, audio recording, privacy, landlord-tenant, and shared-property rules differ by jurisdiction; check applicable laws and professional guidance.[/